My Music in 2023 Posted
25 Feb 2024
As in previous years, I’ve posted all the music I made as part of our Tuesday Tunesday thing we do among friends each week. Please go to Music in 2023 to listen to it.
As in previous years, I’ve posted all the music I made as part of our Tuesday Tunesday thing we do among friends each week. Please go to Music in 2023 to listen to it.
As it has been usual in the past years, I’ve written my summary of Caracas Game Jam 2024 (in Spanish). 46 in-venue participants and 15 online made 17 games, whose gameplay videos are compiled in one big video. Kudos to the organisers, who made a great job this year setting up everything, and coming back to a physical site since 2020. Please read the summary and watch the video.
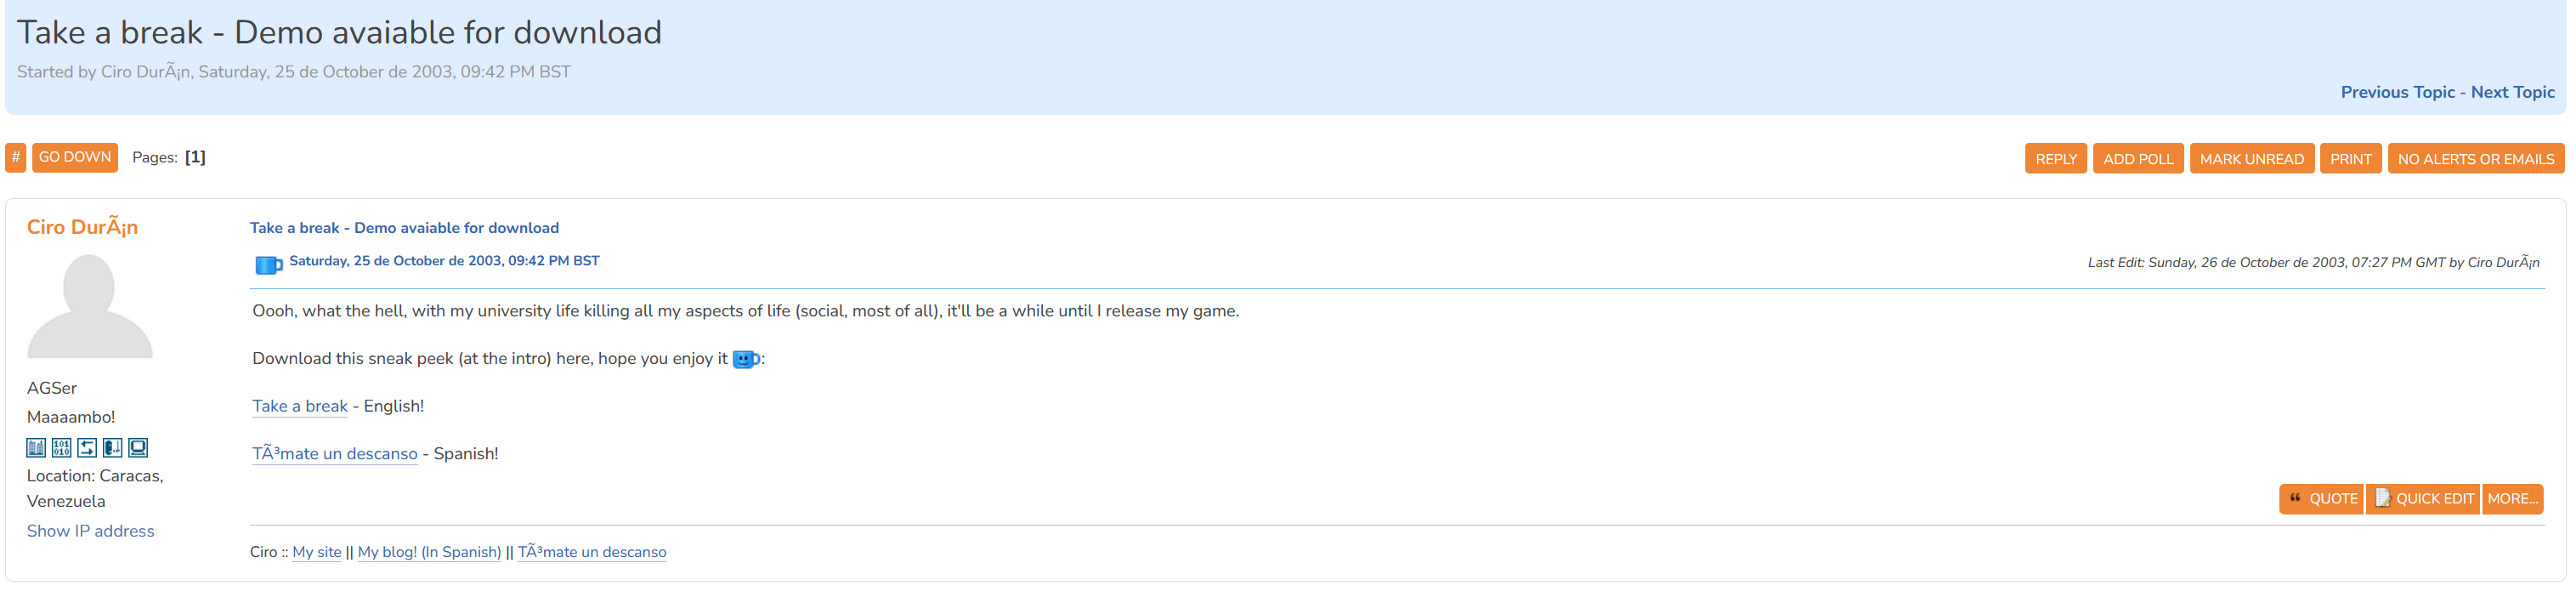
On the 25th October 2003 I published Take a Break’s demo on the Adventure Game Studio forums. With time, the demo stopped being so and became the whole game. The links in the original post are dead, sadly, but the game can still be download from here. A copy of the post in the AGS forums is here as well (because you never know). Take a Break is also known as Tómate un Descanso, its title in Spanish.
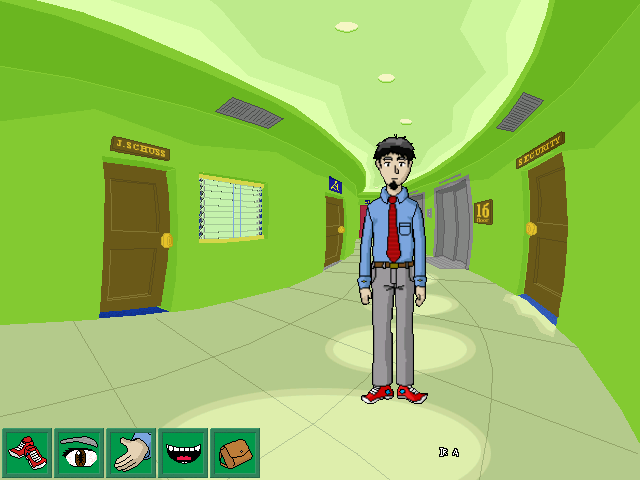
Take a Break is a point and click adventure game, heavily inspired in the games made by Lucasarts in its time, such as Day of the Tentacle. It was made with Adventure Game Studio, a tool that it’s still used to this day to make games in this style. Take a Break was the first game I ever posted to the Internet, although not the first I made. That belongs to some games I made with Recreational Sofware Design’s GameMaker and some Paint Shop Pro version, and lost like tears in rain. Sadly, the sources to Take a Break were also lost with a hard drive failure, and no longer exist. Only the executable that we have today.
In the game, Albert Krakowitz is an office worker that wants to escape work to travel to the fictional and caribbean Isla de Bastidores. The demo was envisioned as some sorts of cold intro for the game, with most the story telling the misfortunes of Al and his travel companion, and him possible returning as a new man.
I published the game convinced that it was just the demo for a much longer and complex game, but eventually I got some other interests, and the demo became the whole thing. I made the illustrations and animations for the game, and some of the music. In 2003 I was in the middle of my undergraduate studies, but we had just went through some hard times (the 2002 general strike). During the strike, we didn’t have classes, and this was the moment where I developed most of this game. The illustrations were hand-drawn, digitalised and then pixel art on top of them. The music, except for the one at the game’s intro, was made by me, I do not remember which MIDI sequencer I used.
Take a Break had a walkthrough written by Francesc Planas, and the original link is dead, but can still be seen on Wayback Machine (I also include a copy of that Wayback Machine entry because you never know). I know this because I wrote about it in El Chigüire Literario, my fully-Spanish gamedev blog. The game had reviews on personal blogs that no longer exist (Moderno Prometeo is one of the ones I can track in my blog).
The things I learned in the game I used them later to create an AGS tutorial. As it happens with lots of documentation, the tool itself evolves and changes, and eventual the tutorial was outdated.
Take a break never won any prizes, and I’m not sure if it had an impact on anyone. The fact this game can run on a PC 20 years of having been published is a sign of how good Windows compatibility is, a feature not shown by any other platform, not even Adobe Flash. However, I can say that this game was important in my personal and professional growth. This game, and those who came after, and everything I wrote in El Chigüire Literario, silently built over itself to make my career and my life. I love that this game can still be played, and that I can show a bit of my thoughts 20 years ago. I am glad to point at this and say “I made this then”.
Preserving things through time is hard. I am still a bit sad to have lost the game sources. But we can still enjoy what has survived.
I found this link to a guitar effect pedal software, I got very curious and I decided to assemble it with hardware that I already have. The repo contains code to run a low latency sound effects processor (as in, real time audio).
The code is written in C++, using SDL2 for visual display, RtAudio to interface with the audio i/o and crow for a web server that shows the complete UI for pedal controls.
The hardware I used: a Raspberry Pi 3 mounted to a element14 touch screen, a breadboard to put the push buttons that connect to the Raspberry Pi through the GPIO port, and a USB sound device with mic and audio ports. It’s also the first time I got to test the touch screen.
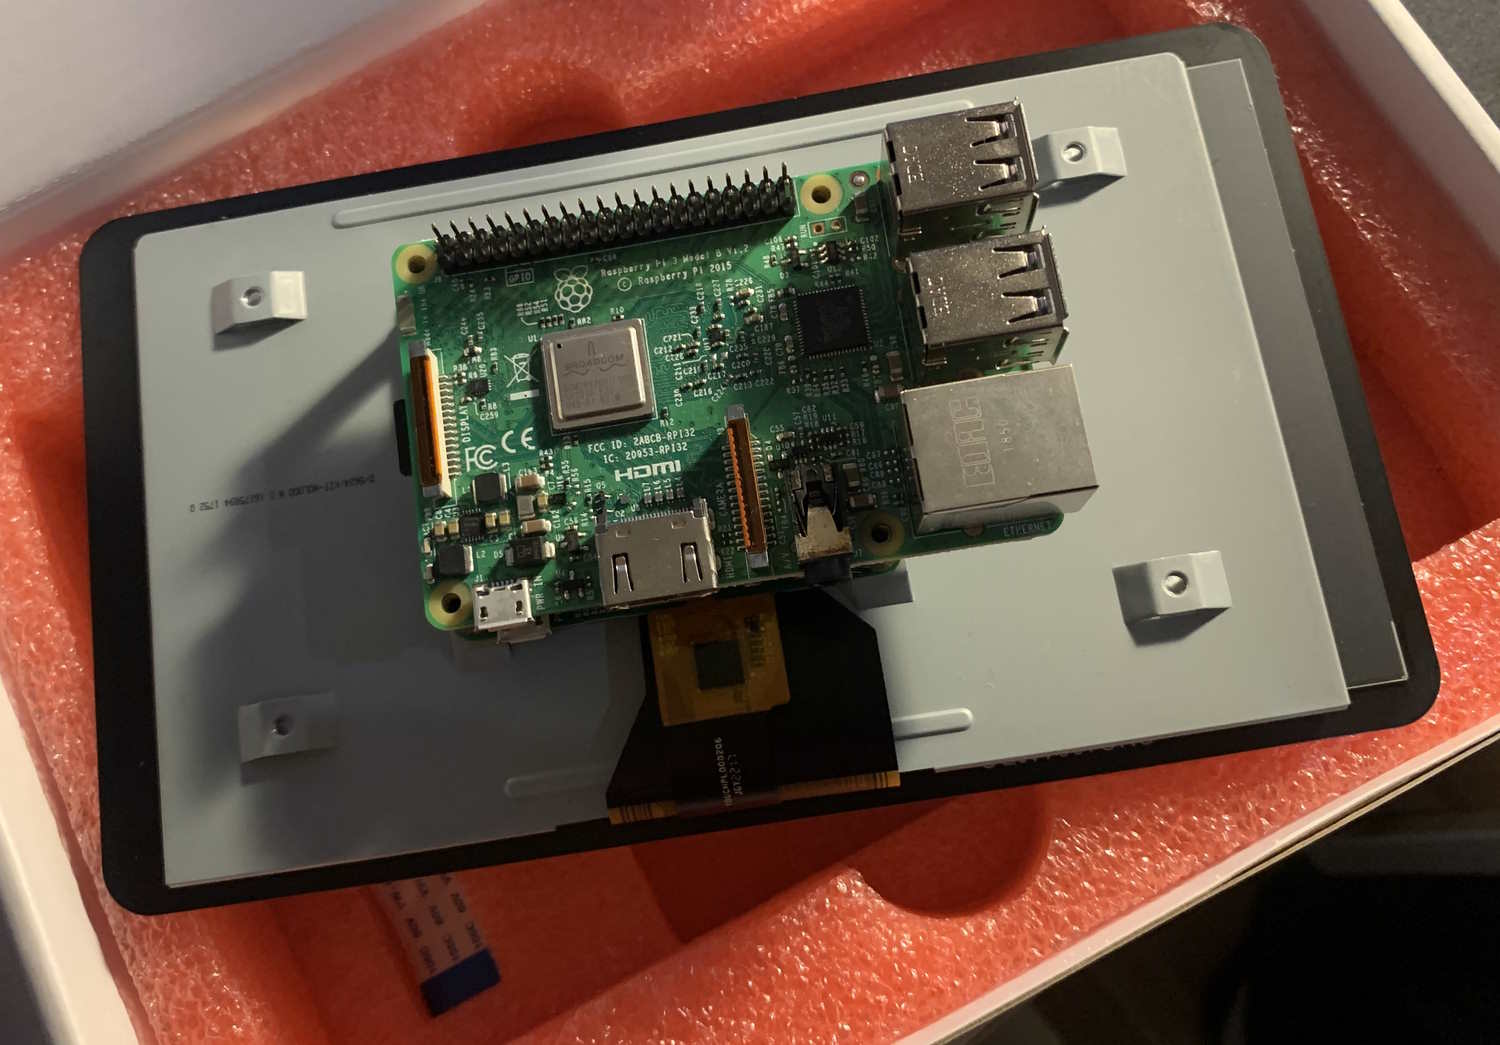
I did not have trouble making the touch screen work: the Raspberry Pi is screwed behind the screen, connected to each other through the specialised display port, and the screen uses the same official Raspberry Pi plug, it provides enough energy for both components. The Raspberry Pi as a tablet is a very interesting device, even though the initial setup keeps it plugged to the wall and not to a battery. I connected a keyboard anyways, life is too short to use the touch screen keyboard.
After having tested that the screen works, it’s time to compile and install GuitarEffects. The procedure is reasonably well explained in the project readme. This is mostly installing the dependencies with apt and then running configure, make and make install.
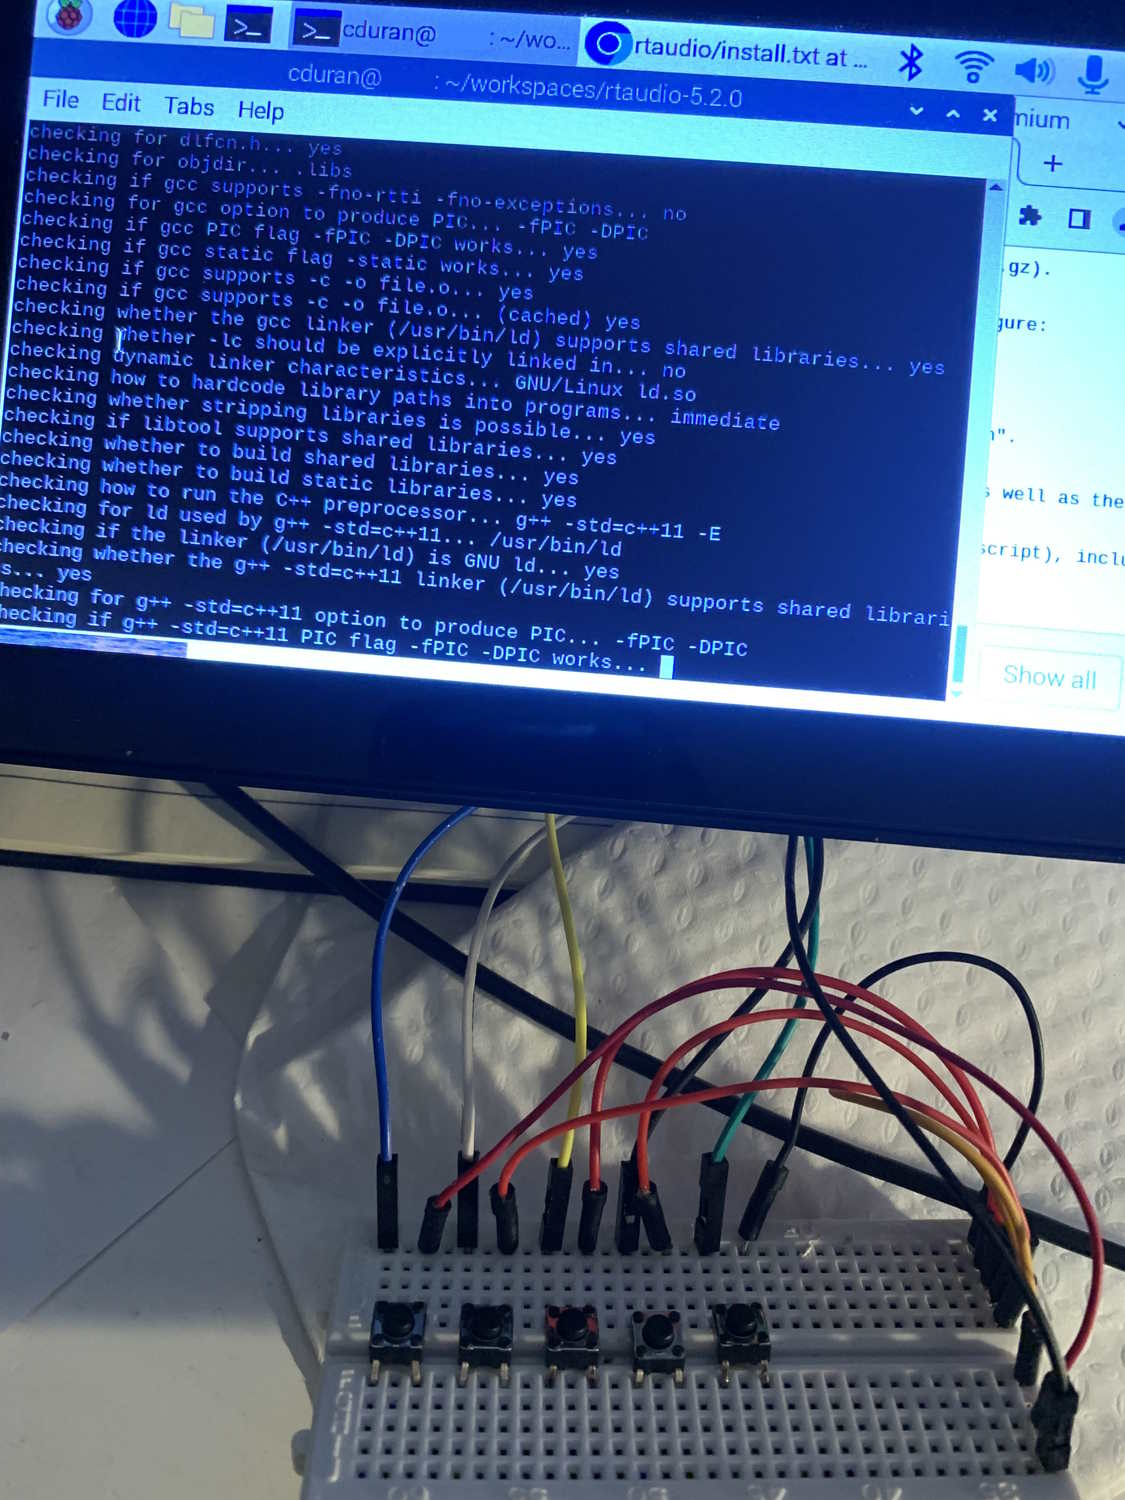
The only comment I’ve got about the process: installing RtAudio worked practically out of the box (no extra options needed). However, I had an error message when I tried to run configure: No known system type found for realtime support!. I had to install an ALSA dev package to solve this, sudo apt-get install libasound2-dev, and then I had no other issues with the installation.
Once everything was compiled, I ran sudo ../bin/server from the web directory in the repo. At this moment the program could not determine the audio device to be used, and it asked me through the terminal. Once I selected the audio device, the program opens a window that shows a real time audio wave.
The program also serves a website that offers full pedal controls. You can open it in the Raspberry Pi browser, or any other browser that is in the same network.
The only thing that remains is to plug in an instrument, some speakers, and start playing.
I decided to use a Raspberry Pi 3 instead of the 4, because that one I recently bought and quickly became my Samba file server, replacing my old RPi 3 setup. I think I did needed a 4, and I noted some crackling and popping, making me think that it doesn’t have enough performance. There are ways to configure the Pi for better real time audio performance, including disabling services such as network. This is not an option for this project due to running a web server.
The buttons did not work for me as the project readme states. However, this was something I did not pay too much attention due to being distracted with the web interface. The pedal as of now offers a good deal of interesting effects: autowah, low/high pass filters, flanger, fuzz, delay, distorsion, compressor, reverb, looper, and some others.
As an experiment, I think it was pretty interesting, and a solid project with lots of potential. Some things I would have done with more time:
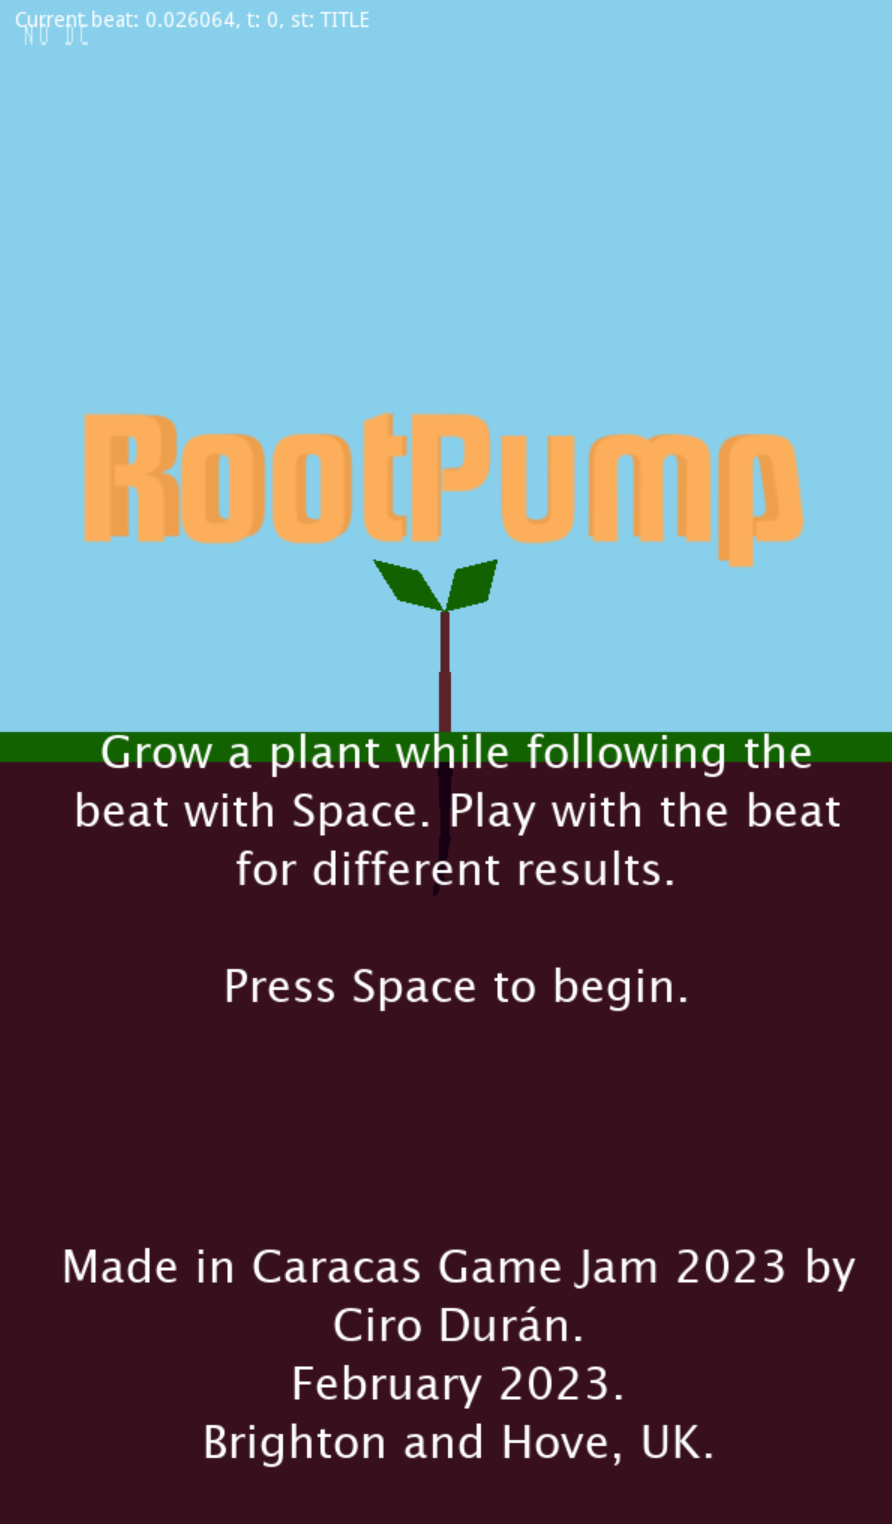
RootPump gameplay video, as delivered in Caracas Game Jam 2023
Another Caracas Game Jam done, another game done, another postmortem. I was about to choose PICO-8 again, but I had a sudden realisation and I went with a tool I’ve wanted to use for quite a while: Godot Engine. Godot has become popular in the Global Game Jam as an alternative to the quite notorious Unity and Unreal Engine. It’s an open source project, so that has attracted a particular gamedev audience. RootPump (Global Game Jam entry) was this year’s result, and the experience allowed me to form some opinions on Godot. Source code in GitHub.
To start using Godot you need to download the release in their downloads page, version 3.5 stable is the most recent as of this post. I knew that Godot scripting was written in GDScript, very similar to Python, but it also offered C#. I am well familiarised with C# so I went with Godot’s option that supports it. I had Visual Studio Code already installed, so I added the extensions godot-tools and C# Tools for Godot to aid in my process. During the event, I cloned Godot’s source code repo and this allowed me to navigate its code from my project and answer many questions.
Godot’s official documentation is pretty useful. It contains a programming reference, and it also has articles that help implementing some of the things you have in mind. However, official docs programming reference only includes GDScript. But the C# interface is well documented in code, so it’s just a matter of generating it to have a reference just as good as GDScript’s, and paulloz has had the courtesy to generate this documentation. This was key to understand the engine and the differences with GDScript. I’d like to see this documentation incorporated in the official docs if they keep maintaining this interface.
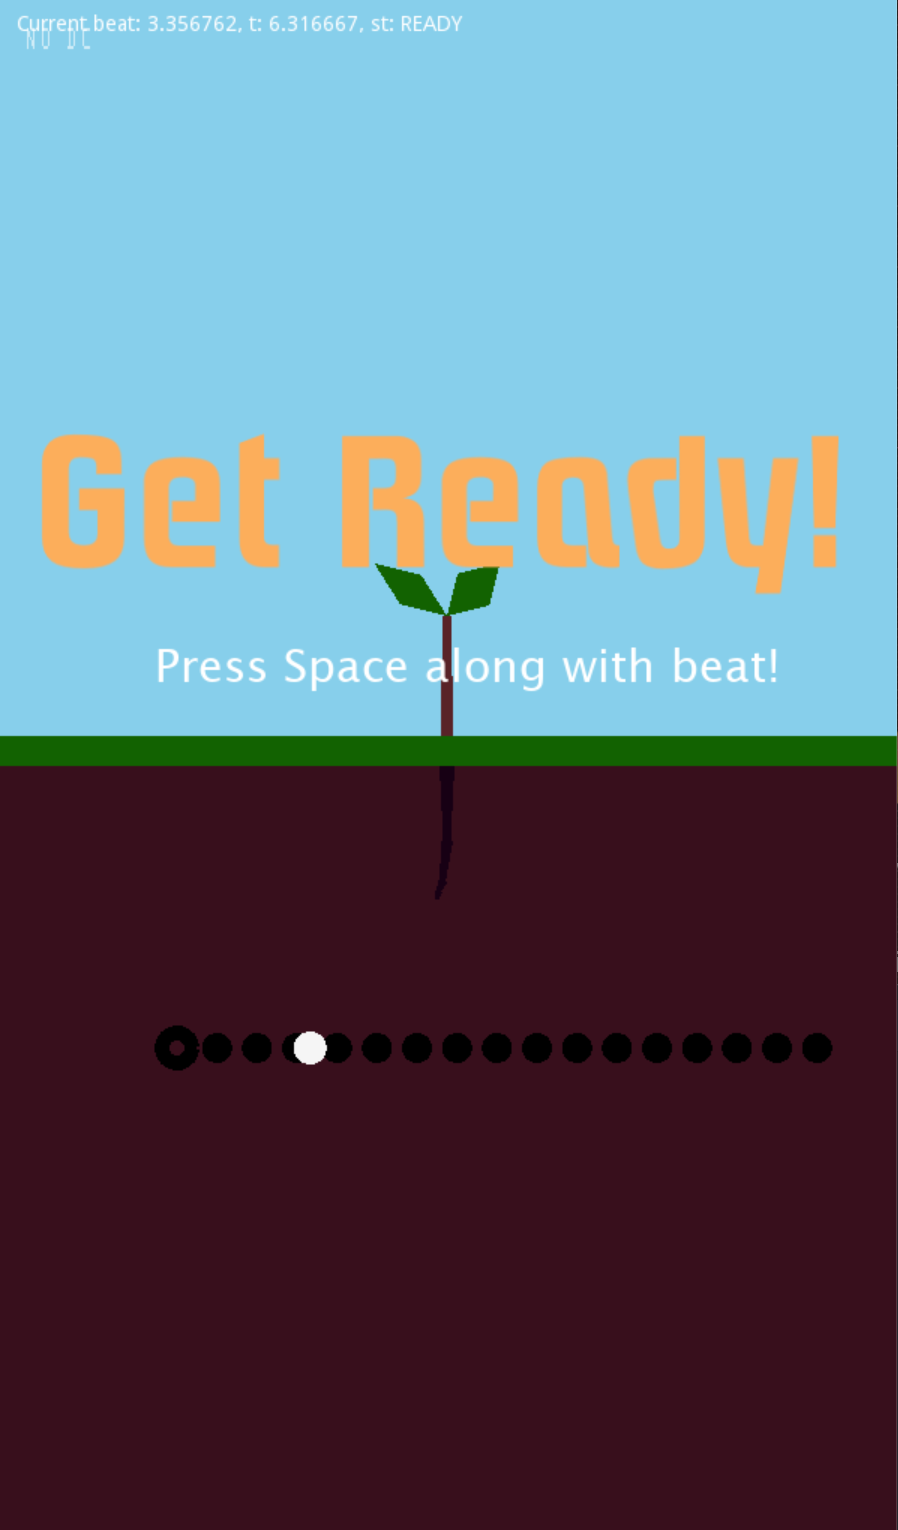
I conceived RootPump as a rhythm game, in which the roots of a plant grow according to how the player keeps the rhythm of a song. Ideally the gameplay would involve just one button. I decided that I’d draw the graphics with whatever 2D API that Godot gave me (which I didn’t know at the time), and that I wuold also use the interface to play some audio (I did not know it either).
It was a nice surprise to find a system to compose scene which is quite familiar to me: in Godot a scene is a file that contains a tree of nodes Node2D. This way you can get any node from a path string (e.g. “Thing1/Thing2” gets the node called Thing2 which is nested in Thing1). It’s possible to attach a script to a node, and that’s how you write code for that node. That was my development cycle: use the editor only to add some basic nodes, layout UI elements on screen, etc. and then I spent the majority of time writing code in VSCode, coming back to editor to test the changes.
Godot has a nice math library (Math2f) with quite a few gamedev-specific routines, so I spent very little reimplementing functionality I usually need. If you know what to do, everything is at hand. Godot also offers Signals to communicate between nodes (Signals is a popular implementation of the Observable pattern). This is part of Node2D, so it’s very easy to use. However, when I implemented the game I wrote a few things that weren’t Node2D, so I could not use it properly.
Godot’s input system is okay. There is an abstract map of actions, each action is associated with a number of buttons (or keys, or controller action). Then in code you test that action.
Godot also has a plugin system that augments the editor functionality. I only had the chance to try one plugin, git for source versioning. It’s a nice plugin, offering a graphical interface for git, but nothing that TortoiseGit doesn’t offer already.

Another nice surprise was to find a very good audio interface. It’s possible to have several audio channels (Audio Buses, in Godot’s parlance). You can apply several sound effects separately to each audio bus. Godot also includes a section that describes how to synchronise audio with your game which saved me a lot of time. I made the music with Ableton Live, but I really dropped the ball here, I went with the most basic stuff. Once I finished the music, I exported the 3 stems to MP3 separately, and you can hear it simultaneously played. I look forward to explore more audio in Godot.
I finally learned how to make builds of my game. Until then I had just tested stuff in editor. Godot has export templates, one for each platform you can target (Windows, Mac, Web, etc.) This is a separate download that’s initiated from within the editor. I had considered initially to make RootPump for Windows, but I definitely tried building for Web. Sadly, the game gets stuck 3 seconds into the song, probably because of my audio setup. I think you need to be a lot more careful when writing a game for the Web, and it’s worth exploring without the pressure of a game jam. Thanks to Edmundo I also tested the build on Mac: it works fine, except that the build asks permissions to use the microphone. This is apparently hardwired in the current version of Godot.
I definitely did not have enough time to implement the minimum I was expecting to write by the end of the event. I’ve got a tree that grows, a pulse that moves according to certain rhythm, and a mechanism to check whether the player is following the rhythm. However, both mechanisms are not connected. I would have like that the player had a way to control the pulse’s direction, so maybe I’d have needed an analog stick to control the pulse.
At the end, I felt that the limitations were strictly about time, and I feel that the tool worked with me, and not against me. I would probably pick Godot again for a future project.